Add a Location
- From the top menu, go to Manage > Locations.
- Click the
 button.
- Specify a Location Name. Optionally, specify a custom display name if you want to display a different name to clients on your booking module and landing page. For example, you might want to name your location Store #8329 internally, but have it be displayed to clients as New York.
- Optionally, you can specify a Description, Address, and Contact Info as well.
- Click on the Settings tab. Set the location's time zone if it differs from the time zone set for your account.
- Choose the Location Type: Fixed or Mobile.
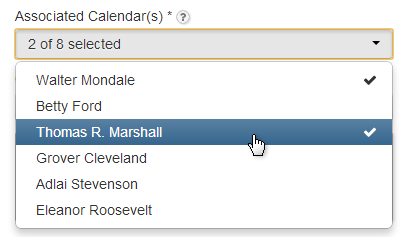
- Associate the location with at least 1 Staff/Calendar. Select the Associated Calendar(s) dropdown button. Selecting Staff/Calendar name(s) places a check mark next the selection(s). Select multiple names to associate more than one Staff/Calendar.
- Set the Visibility Options for the location.
- Finally, click Save.